How to take screenshots on PC and Mac
Capturing a screenshot is a simple way to share whatever it is you're seeing on the screen. Here's a quick guide on how to take a screenshot on Windows and macOS.
How to Take a Screenshot on a PC
The easiest way to get to the Snipping Tool is by pressing Windows Key+Shift+S. That keyboard shortcut gives you a choice to take a screenshot using a rectangular selection, freehand selection, window, or full-screen capture.
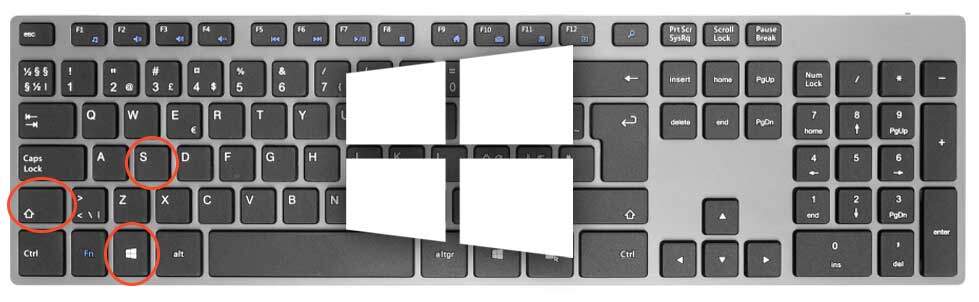
For the first two options, draw with the cursor to select the area you want to capture. For the second two choices, just click over the target.
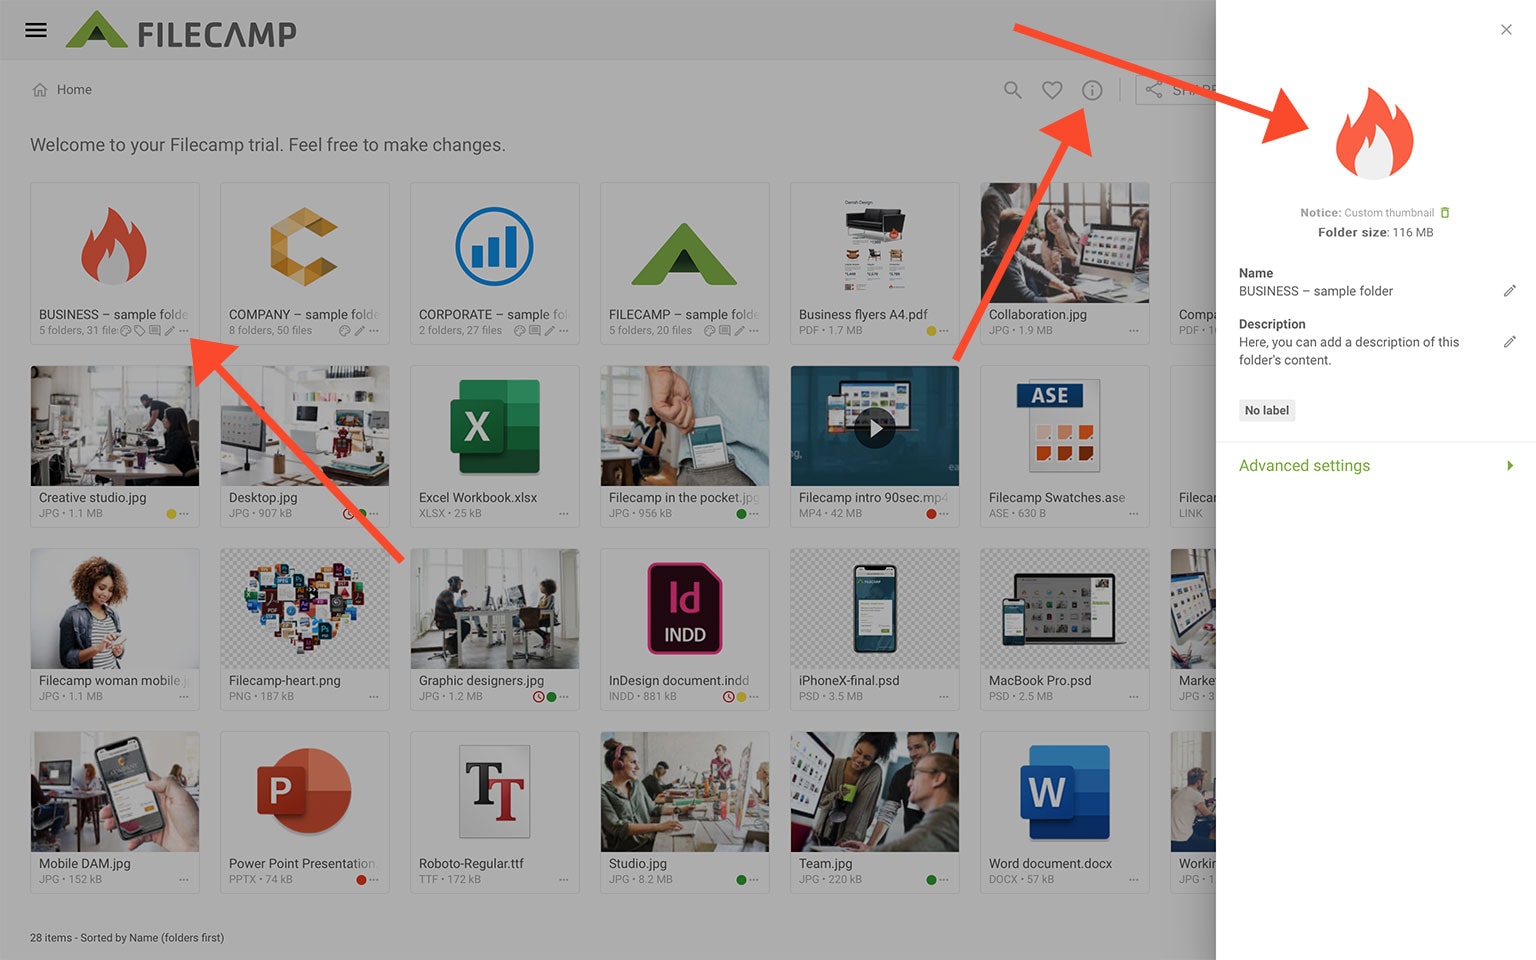
Once you release the cursor, you see a notification in the lower-right-hand corner showing a thumbnail image of the screenshot. Now click on the notification area's thumbnail to open the Snipping Tool interface. Here, you can mark up the screenshot with a pen or highlighter, or you can crop it.
Most importantly, you can save the screenshot and any edits using the 3.5-inch floppy disk icon (some visual metaphors never die).
And you can now use the screenshot as a custom thumbnail to a file or folder in Filecamp 😃
How to Take a Screenshot on a Mac
To capture a specific part of your screen, press Shift+Command+4 and your pointer will change to a cross-hair.
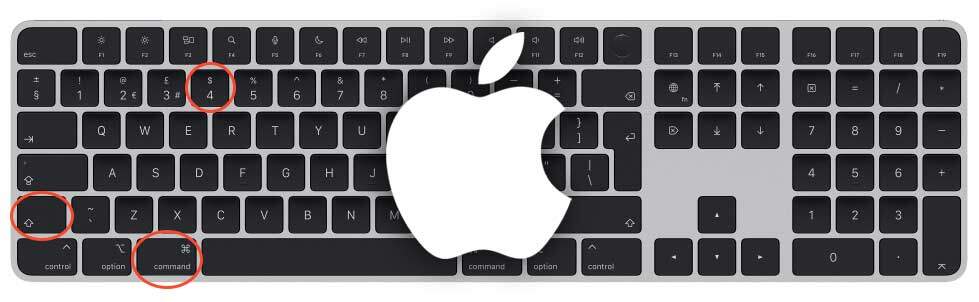
Click and drag the cross-hair so that it covers the area you wish to capture. Let go to grab the selected area or press the Esc key to cancel. By holding down Shift, Option, or Space Bar, you can change the shape, size, and position of the selection area before capturing an image.
The screenshot will be saved as a .png file on the desktop by default.
And you can now use the screenshot as a custom thumbnail to a file or folder in Filecamp 😃
THIS ARTICLE REVIEWS THE FOLLOWING TOPICS:
How to Take a Screenshot on a PC
How to Take a Screenshot on a Mac