Label sets
Create your own Label sets that make sense for your workflow. You can have as many Label sets as you'd like and can assign them to specific folders.
Add Label set
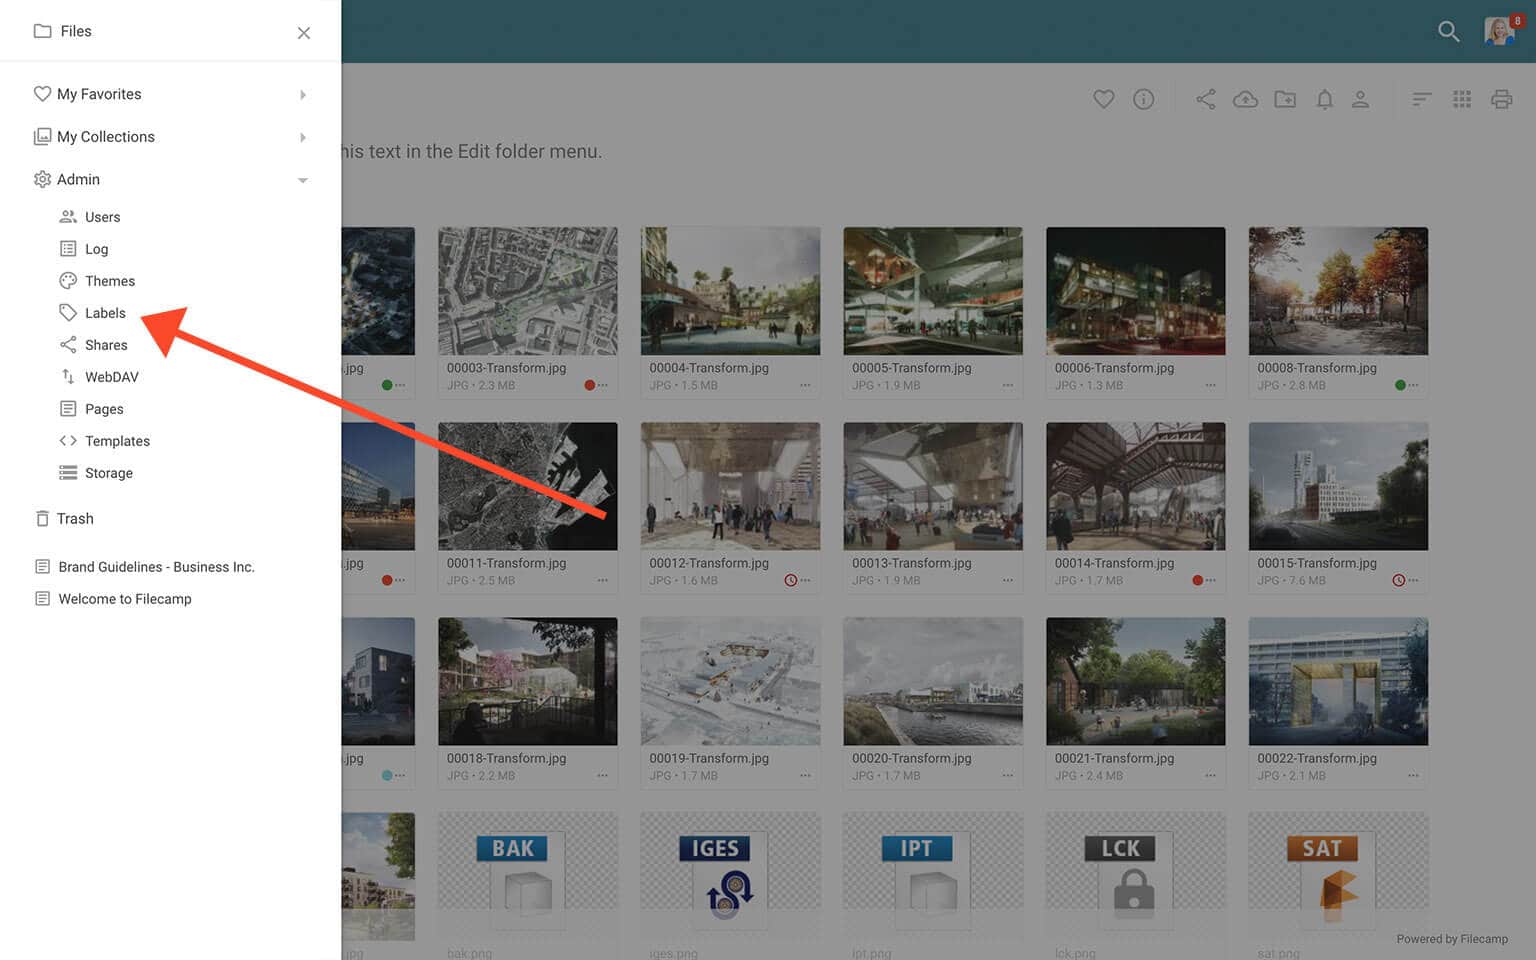
Go to Admin > ![]() Labels.
Labels.
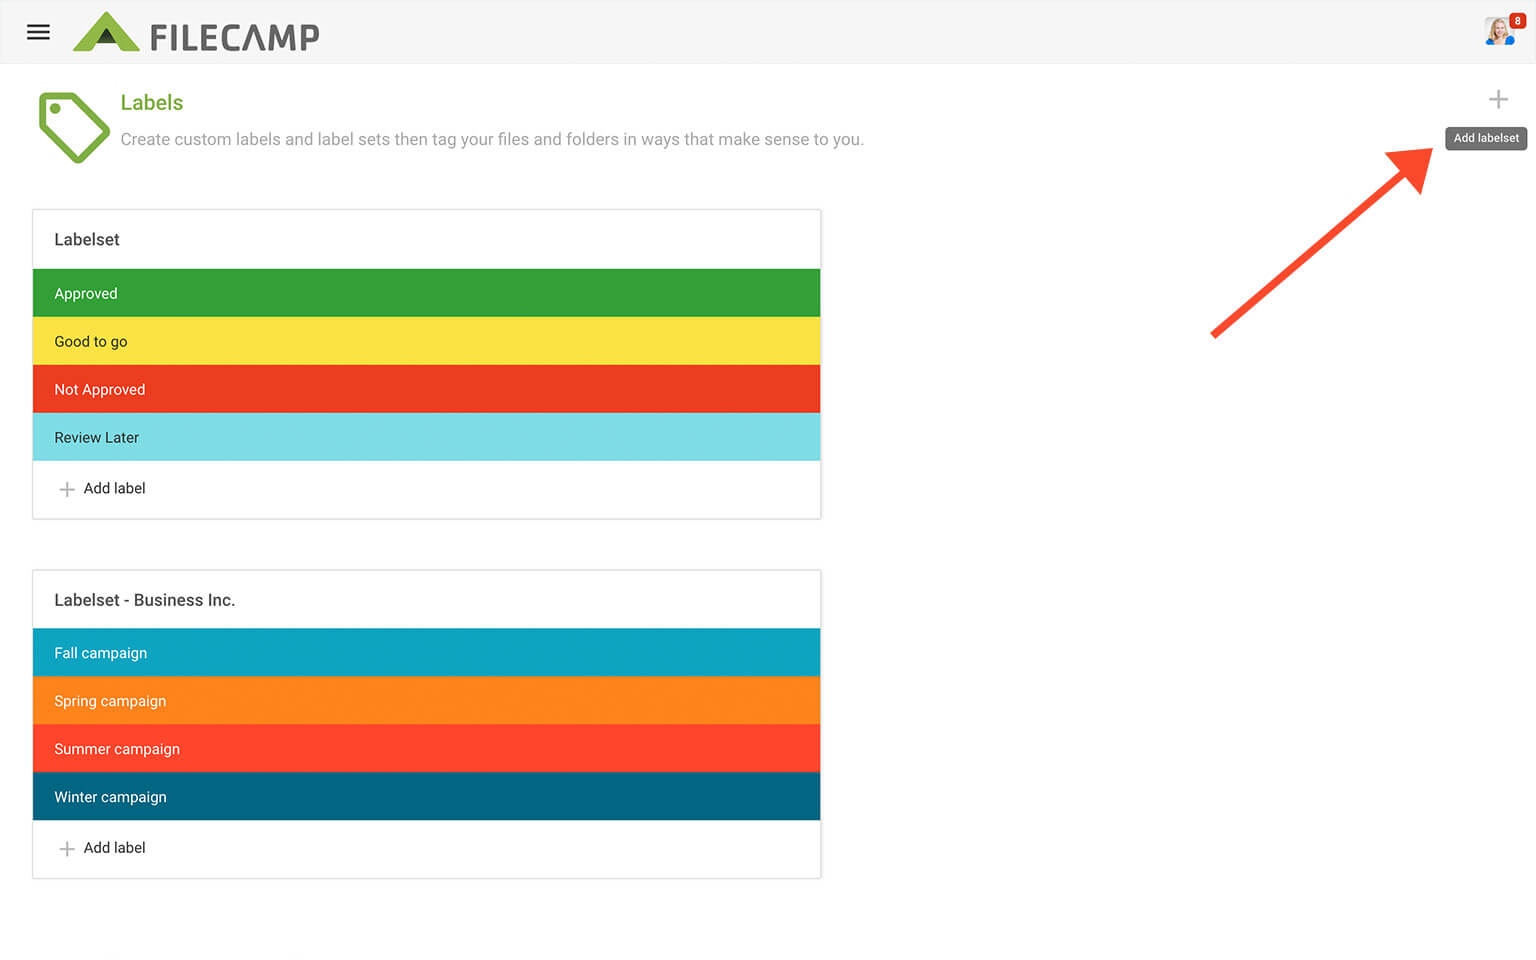
Next, click the Add Labelset ![]() icon in the Toolbar. Enter a name for your new Label set and click Create. The Label set is now created, and you can customize it with text and colors to fit your usage.
icon in the Toolbar. Enter a name for your new Label set and click Create. The Label set is now created, and you can customize it with text and colors to fit your usage.
Edit Label Set
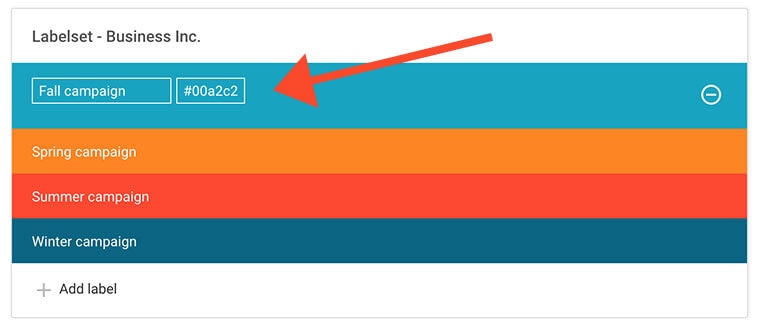
Go to Admin > ![]() Labels. Next, click on the specific labels to edit color and names on the labels.
Labels. Next, click on the specific labels to edit color and names on the labels.
Assign Labelset to a folder
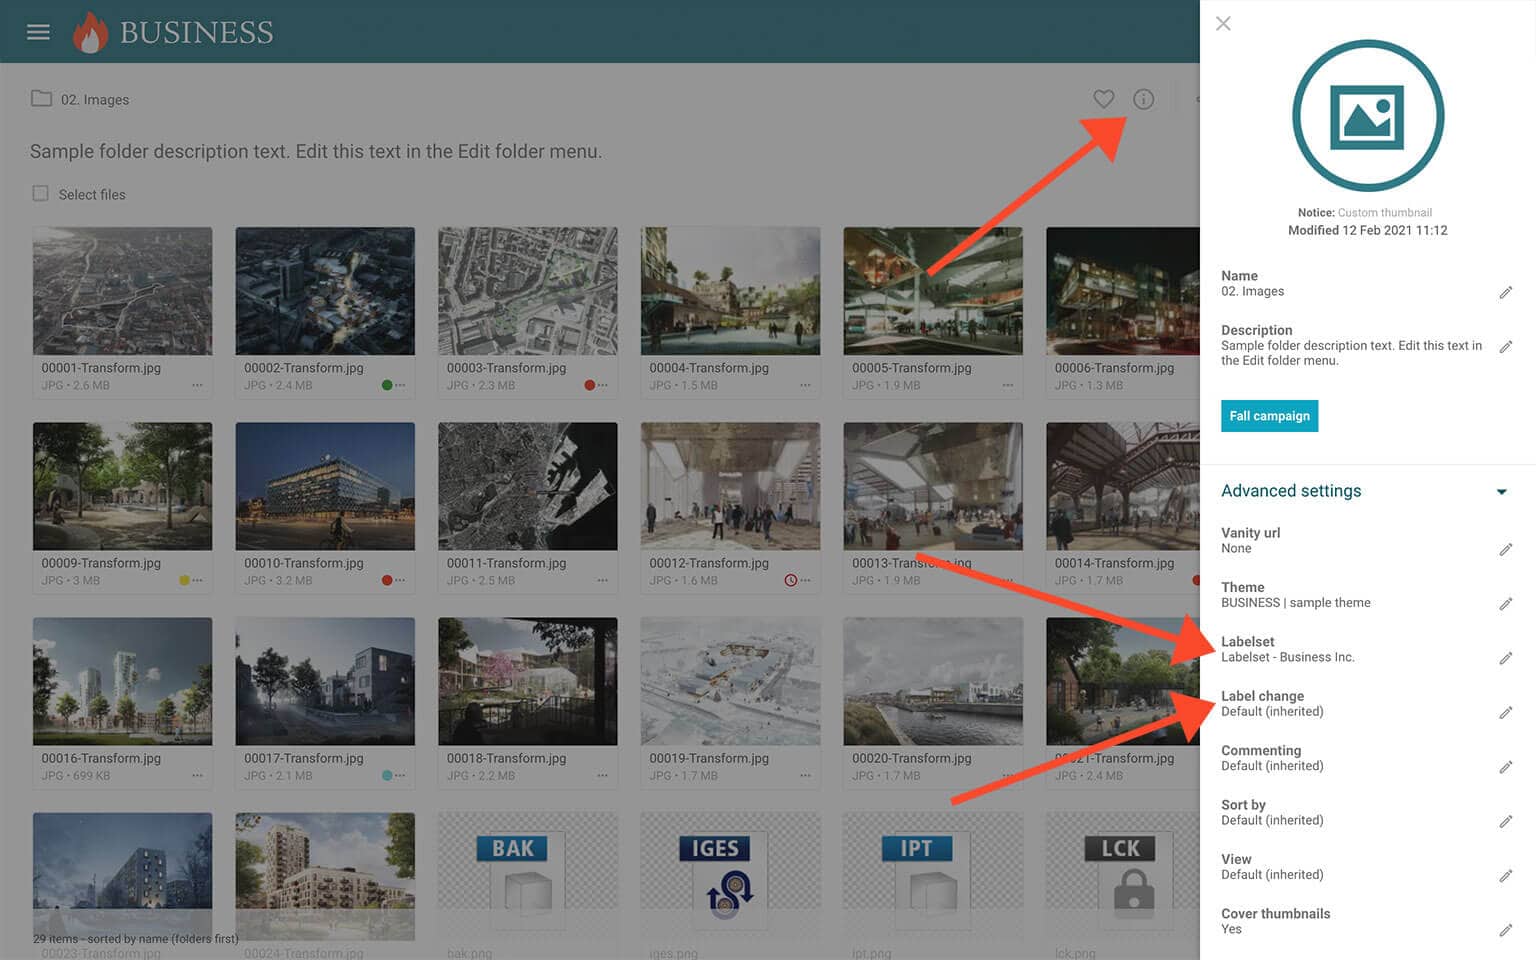
You can always choose another Labelset if you do not want to use the inherited Labelset from a parent folder. To do so just navigate to the folder you want to assign a Label set to, press the Info ![]() icon in the Toolbar. Then open the Advanced settings in the Infobar, and select another Labelset from the Labelset drop-down menu.
icon in the Toolbar. Then open the Advanced settings in the Infobar, and select another Labelset from the Labelset drop-down menu.
Enable/disable label change on folder level
You can easily enable or disable label changes on the folder level. Enter the folder you want to modify, open the ![]() Infobar and click on Advanced settings in the, and you can now enable/disable label changes for this folder (and subfolders) from the Label Change drop-down menu.
Infobar and click on Advanced settings in the, and you can now enable/disable label changes for this folder (and subfolders) from the Label Change drop-down menu.
Notice: Only Administrators or users with permission to "Edit files and folders" and "Manage labels" can assign a Labelset to a folder. Read more about admin permissions.